

Rear Mud Guard - Machinery Method
Plan 4 - Episode 16
In Episode 16 of the Flatbed Felix Pedal Car Build, Vaughan demonstrates how to form the rear sheet metal mudguard using machinery. This episode is perfect for those looking to speed up the shaping process while still gaining valuable hands-on experience, making it ideal for beginners and hobbyists alike.
Skills You'll Learn
Vaughan begins by adding a crown to the top of the mudguard using an English wheel. He explains how to create a smooth, even crown through the center of the piece. This process pre-stretches the metal, forming a natural radius that helps shape the guard.
Next, he folds the flange using a pan brake. Vaughan then uses a bead roller equipped with the correct dies to form a precise swage along the laser-etched lines. The bead roller’s speed, die setup, and clearances ensure a clean, professional finish with consistent depth.
Using a forming buck, Vaughan adapts the metal to match both convex and concave curves. He skillfully transfers the shape to and from the buck with a shrinker and stretcher, adjusting each side until the fit is snug. A profile gauge is also used to accurately capture and replicate the shape.
Finally, Vaughan lightly sands and dresses the piece to remove any lumps or bumps. He explains how to carefully finish the thin metal, using hand tools and sanding paper to smooth out imperfections without damaging the material.
Tools You'll Need
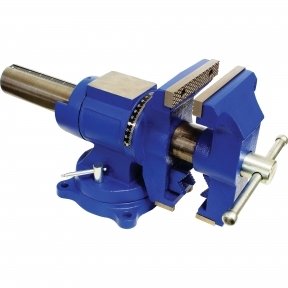
To follow along, you'll need the following tools: a tape measure, square, pencil or marker, utility knife, ruler, file, deburring tool,, seaming pliers, nylon mallets, soft-face hammer, left and right tin snips, F-clamps, T-dolly, angle grinder, orbital air sander, a vice, and a sturdy workbench and a welder.
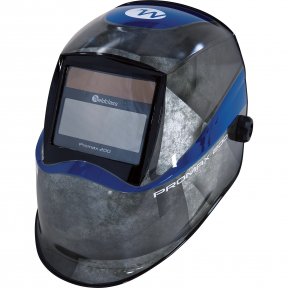
Always wear protective gloves, safety goggles, hearing protection, and full welding PPE while working.
Related Products

On Sale

On Sale

On Sale

On Sale

On Sale

On Sale

On Sale

On Sale
On Sale

On Sale

On Sale
Limited Stock

On Sale

On Sale

On Sale

On Sale

On Sale - Package Deal

On Sale

On Sale

On Sale


© 2026 Hare & Forbes Pty Ltd. All rights reserved. ABN 96000286957
