
Wheel Arches - Hand Forming Method
Plan 5 - Episode 19
In Episode 19 of the Flatbed Felix Pedal Car Build, Vaughan kicks off Plan 5 by starting on the front inner guards using traditional hand-forming techniques. This episode is especially valuable for hobbyists and anyone interested in more advanced metal shaping methods, as it dives into one of the most complex parts of the build so far—the 3D wheel arches.
Skills You'll Learn
Vaughan walks through the hand-forming process to shape the complex, three-dimensional front wheel arches using 1:1 templates, wire guides for curvature, and a defined fold sequence. He begins by shrinking and puckering the edges with pliers and shifters, then smooths the surface using planishing techniques. With dollies for leverage, he refines the profile to match the required radius.
He test-fits the arch to the front guard to check alignment, then continues shaping by stretching and shrinking the edges to follow the forming buck. The paper template is trimmed and placed over the buck to fine-tune both fit and curve. He flattens the edges using a corking tool and explains the role of custom dollies in the process.
Folds 3 through 5 are made cleanly using pressbrake vice jaws, while Step 6 is formed with a tapered T-dolly and hand pressure. The arch takes shape piece by piece, nearly ready for final fitment.
Tools You'll Need
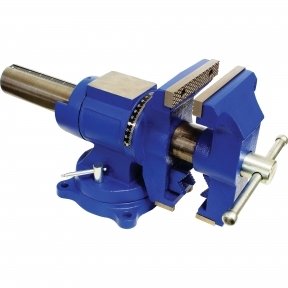
To follow along with this episode, you’ll need a tape measure, square, pencil or marker, utility knife, ruler, file, deburring tool, seaming pliers, nylon mallets, soft-face hammer, left and right tin snips, F-clamps, metal shaping hammers, dollies, pliers, an orbital air sander, a vice, and a sturdy workbench.
As always, be sure to wear protective gloves, safety goggles, and hearing protection to keep your work environment safe.
Related Products


On Sale

On Sale

On Sale

On Sale
On Sale

On Sale

On Sale - Package Deal

On Sale

On Sale


© 2026 Hare & Forbes Pty Ltd. All rights reserved. ABN 96000286957
